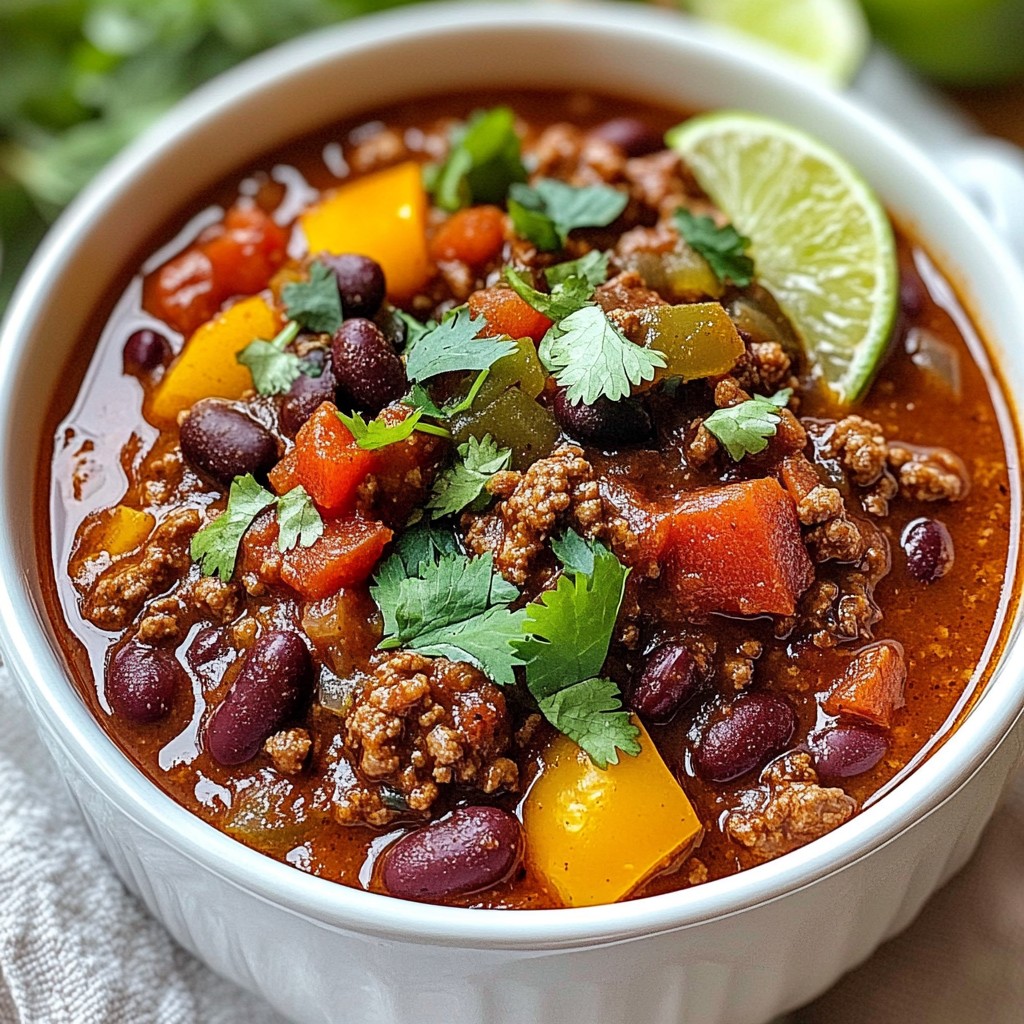
Are you ready to dive into a warm bowl of comfort? This Crockpot Meal Prep Chili Con Carne Simple Recipe is your ticket to hearty flavors without the fuss. You’ll learn how to blend simple ingredients into a rich dish that’s perfect for meal prep. Whether you're cooking for the week or hosting friends, this chili is a crowd-pleaser. Let’s get started and make some magic in your kitchen!
Ingredients
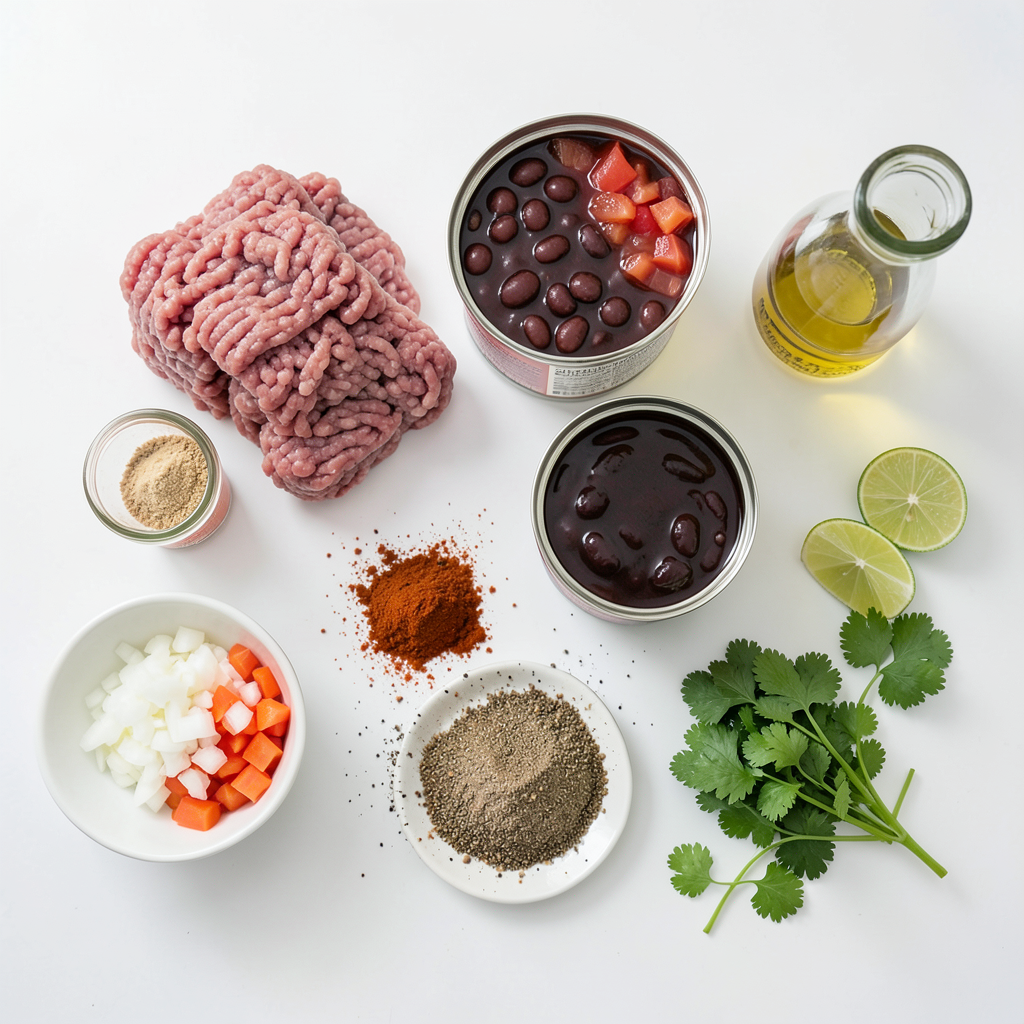
Main Ingredients for Chili Con Carne
For my chili con carne, I use fresh and hearty ingredients. Here’s what you need:
- 1 pound ground beef
- 1 can (15 oz) kidney beans, drained and rinsed
- 1 can (15 oz) black beans, drained and rinsed
- 1 can (28 oz) diced tomatoes (with juice)
- 1 onion, diced
- 2 cloves garlic, minced
- 1 bell pepper (red or green), chopped
- 1 tablespoon chili powder
- 1 teaspoon cumin
- 1 teaspoon smoked paprika
- 1/2 teaspoon cayenne pepper (adjust for heat preference)
- 1 teaspoon salt
- 1/2 teaspoon black pepper
- 2 cups beef broth
- 1 tablespoon olive oil
These ingredients create a rich and flavorful dish. The beans add protein and fiber, while the spices bring warmth.
Optional Garnishes
Garnishes can elevate your chili. Here are some tasty options:
- Fresh cilantro
- Lime wedges
- Shredded cheese
- Sour cream
- Sliced jalapeños
These toppings add freshness and extra flavor. You can mix and match based on your taste.
Notes on Ingredient Substitutions
You can easily swap ingredients if needed. Here are some ideas:
- Use turkey or chicken instead of beef for a lighter option.
- If you want a vegetarian chili, skip the meat and add more beans or lentils.
- Swap kidney beans for pinto or chickpeas based on your preference.
These substitutions keep the dish flexible. You can still enjoy great taste and texture!
Step-by-Step Instructions
Preparing the Vegetables
Start by gathering your vegetables. You need one onion, one bell pepper, and two garlic cloves. Dice the onion and chop the bell pepper into small pieces. Mince the garlic finely. Heat one tablespoon of olive oil in a skillet over medium heat. Add the diced onion and bell pepper. Cook them for about five minutes, until they soften. Then, add the minced garlic and cook for another minute. The garlic will smell great!
Browning the Ground Beef
Now, it's time to brown the meat. In the same skillet, add one pound of ground beef. Use a spatula to break it up as it cooks. Brown the beef for about six to eight minutes. Drain any fat if needed. The beef should be nice and brown before moving on.
Combining and Cooking in the Crockpot
Grab your large crockpot. Add the browned beef and sautéed vegetables. Then, pour in one can of kidney beans and one can of black beans. Add one can of diced tomatoes with juice, two cups of beef broth, and all your spices: one tablespoon of chili powder, one teaspoon of cumin, one teaspoon of smoked paprika, half a teaspoon of cayenne pepper, one teaspoon of salt, and half a teaspoon of black pepper. Stir everything well to mix.
Cover your crockpot and cook on low for six to eight hours or on high for three to four hours. This lets all the flavors blend together. After cooking, taste the chili. Adjust the seasoning to your liking. Serve hot and enjoy!
Tips & Tricks
Perfecting Flavor and Texture
To enhance the flavor of your chili con carne, start by sautéing the veggies. This step brings out their natural sweetness. Use a mix of bell peppers for a colorful dish. I like to add fresh herbs at the end. Fresh cilantro adds brightness and a burst of flavor. Adjust the cayenne pepper to fit your taste. If you like it spicy, add more!
Meal Prepping Best Practices
When meal prepping, let your chili cool before storing. Use airtight containers to keep it fresh. Label your containers with the date. This helps you know when to eat it. You can refrigerate for up to five days. If you want to store it longer, freeze the chili. It can last for three months in the freezer. Be sure to thaw it in the fridge overnight before reheating.
What to Serve with Chili Con Carne
Chili con carne pairs well with many sides. Serve it with cornbread for a classic touch. Rice or tortilla chips are also great options. You can add toppings like shredded cheese, sour cream, or sliced jalapeños. These add extra flavor and texture. Offer lime wedges for a zesty kick!
Variations
Vegetarian or Vegan Options
You can easily make this chili meat-free. Swap out the beef for lentils or mushrooms. Use vegetable broth instead of beef broth. Kidney beans and black beans add great protein and texture.
Different Bean Combinations
Feel free to mix beans to fit your taste. Try pinto beans or chickpeas for a twist. Combining different beans will change the flavor and texture. You can use what you have on hand, so get creative!
Spicy Adjustments for Heat Lovers
If you like heat, add more cayenne pepper or chili powder. You can also toss in fresh jalapeños for an extra kick. For smoky heat, consider adding chipotle peppers in adobo sauce. Just remember to start small; you can always add more later!
Storage Info
How to Store Leftovers
After enjoying your chili, let it cool. Transfer the chili into airtight containers. This helps keep it fresh. Store in the fridge for up to five days. If you want to keep it longer, freezing is a great option.
Freezing Tips for Longer Storage
To freeze, make sure the chili is cool. Use freezer-safe bags or containers. Remove as much air as you can to prevent freezer burn. Label the bags with the date. You can freeze chili for up to three months for best taste.
Reheating Instructions
When you are ready to eat, thaw the chili if frozen. You can reheat it on the stove or in the microwave. If using the stove, heat over medium until hot. Stir often to prevent sticking. If using the microwave, heat in short bursts. Stir between each burst until warmed through. Enjoy your chili just like the first time!
FAQs
How long does chili con carne last in the fridge?
Chili con carne lasts about five days in the fridge. Make sure to store it in airtight containers. This keeps the chili fresh and tasty. If you want to keep it longer, consider freezing it.
Can I cook this chili on high heat?
Yes, you can cook this chili on high heat. It will take about three to four hours. Cooking on high will still blend the flavors well. However, I recommend low heat for a richer taste over six to eight hours.
What are the best toppings for chili con carne?
The best toppings for chili con carne include:
- Shredded cheese
- Sour cream
- Sliced jalapeños
- Chopped green onions
- Fresh cilantro
- Lime wedges
These toppings add flavor and a nice look to your chili. Feel free to mix and match based on your taste!
This blog post covered everything about making chili con carne. We discussed key ingredients, cooking steps, and helpful tips. You learned about variations and how to store leftovers. Keeping it fun and tasty is the goal. Experiment with flavors and serve it your way. Enjoy your chili-making journey and share it with friends and family. With these tips, you will create delicious meals every time. Happy cooking!